作者:Eren Goksel
原版地址:http://psd.tutsplus.com/tutorials/3d/create-a-shiny-earth-with-photoshop-3d-layers/
翻译:nigel
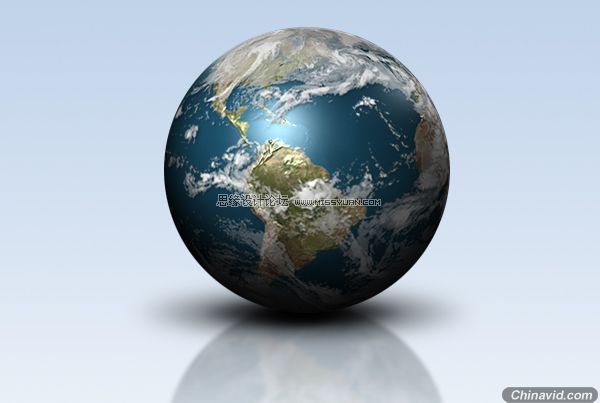
最终效果图预览:
第一步:建立一个新的文档,大小为1000像素乘以500像素,分辨率为300pix/inche,并且命名为"Home"。

第二步:我们接下来将要使用地球的贴图。你可以从 planetpixelemporium.com下载到"color map"这一图片,然后将它放到你的文档中作为一个新的图层。将这个图层重命名为"Earth“。

第三步:现在选择:3D > New Shape From Layer > Sphere。这样就会将这一贴图转换成一个球体,这也是我们接下来工作的基础。
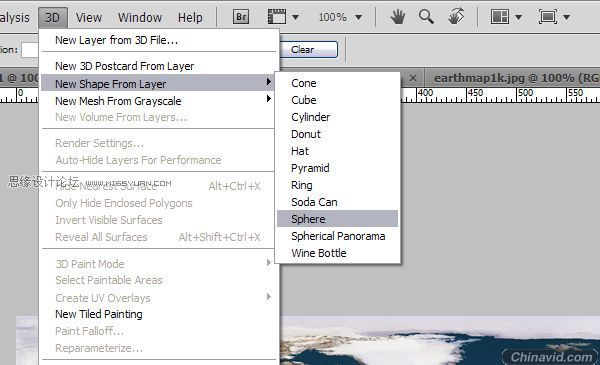
第四步:现在earth这一图层已经是一个3D图层了,你会看到图层面板中的一个立方体的小标志。在PS中,你可以在3D图层中对3D模型就行操作。你可以用3D工具移动或者是转动3D对象。


